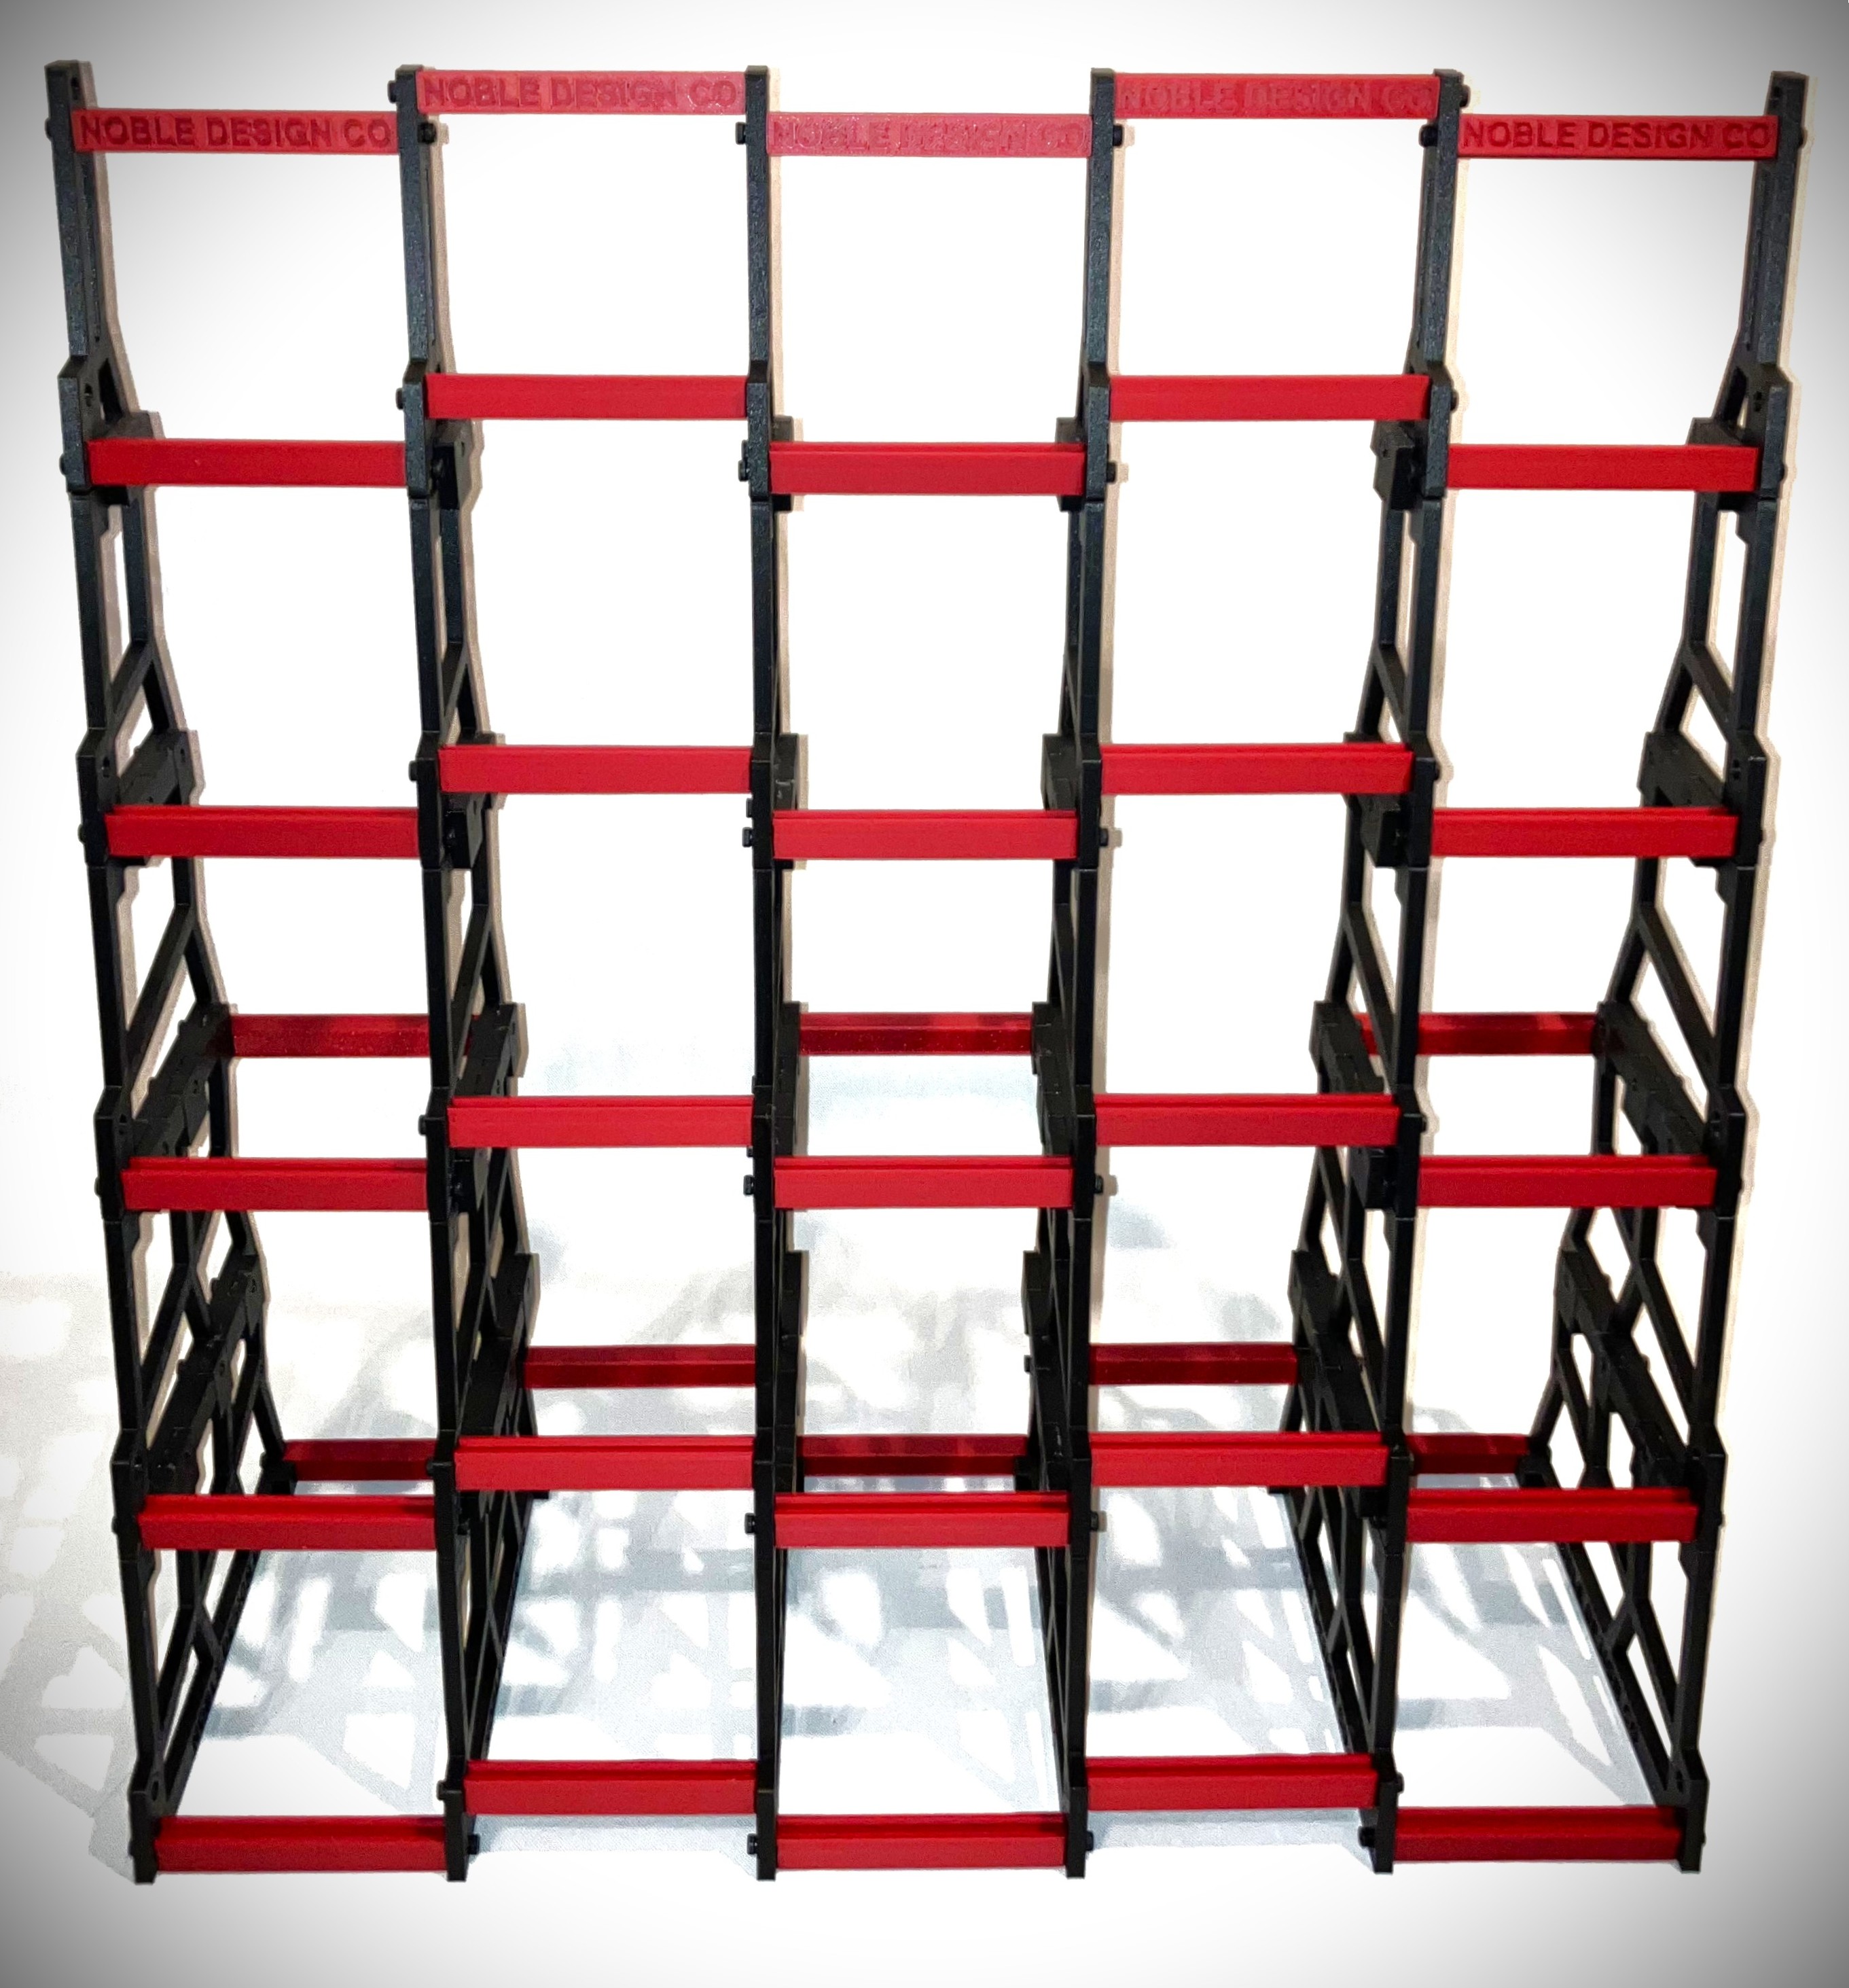
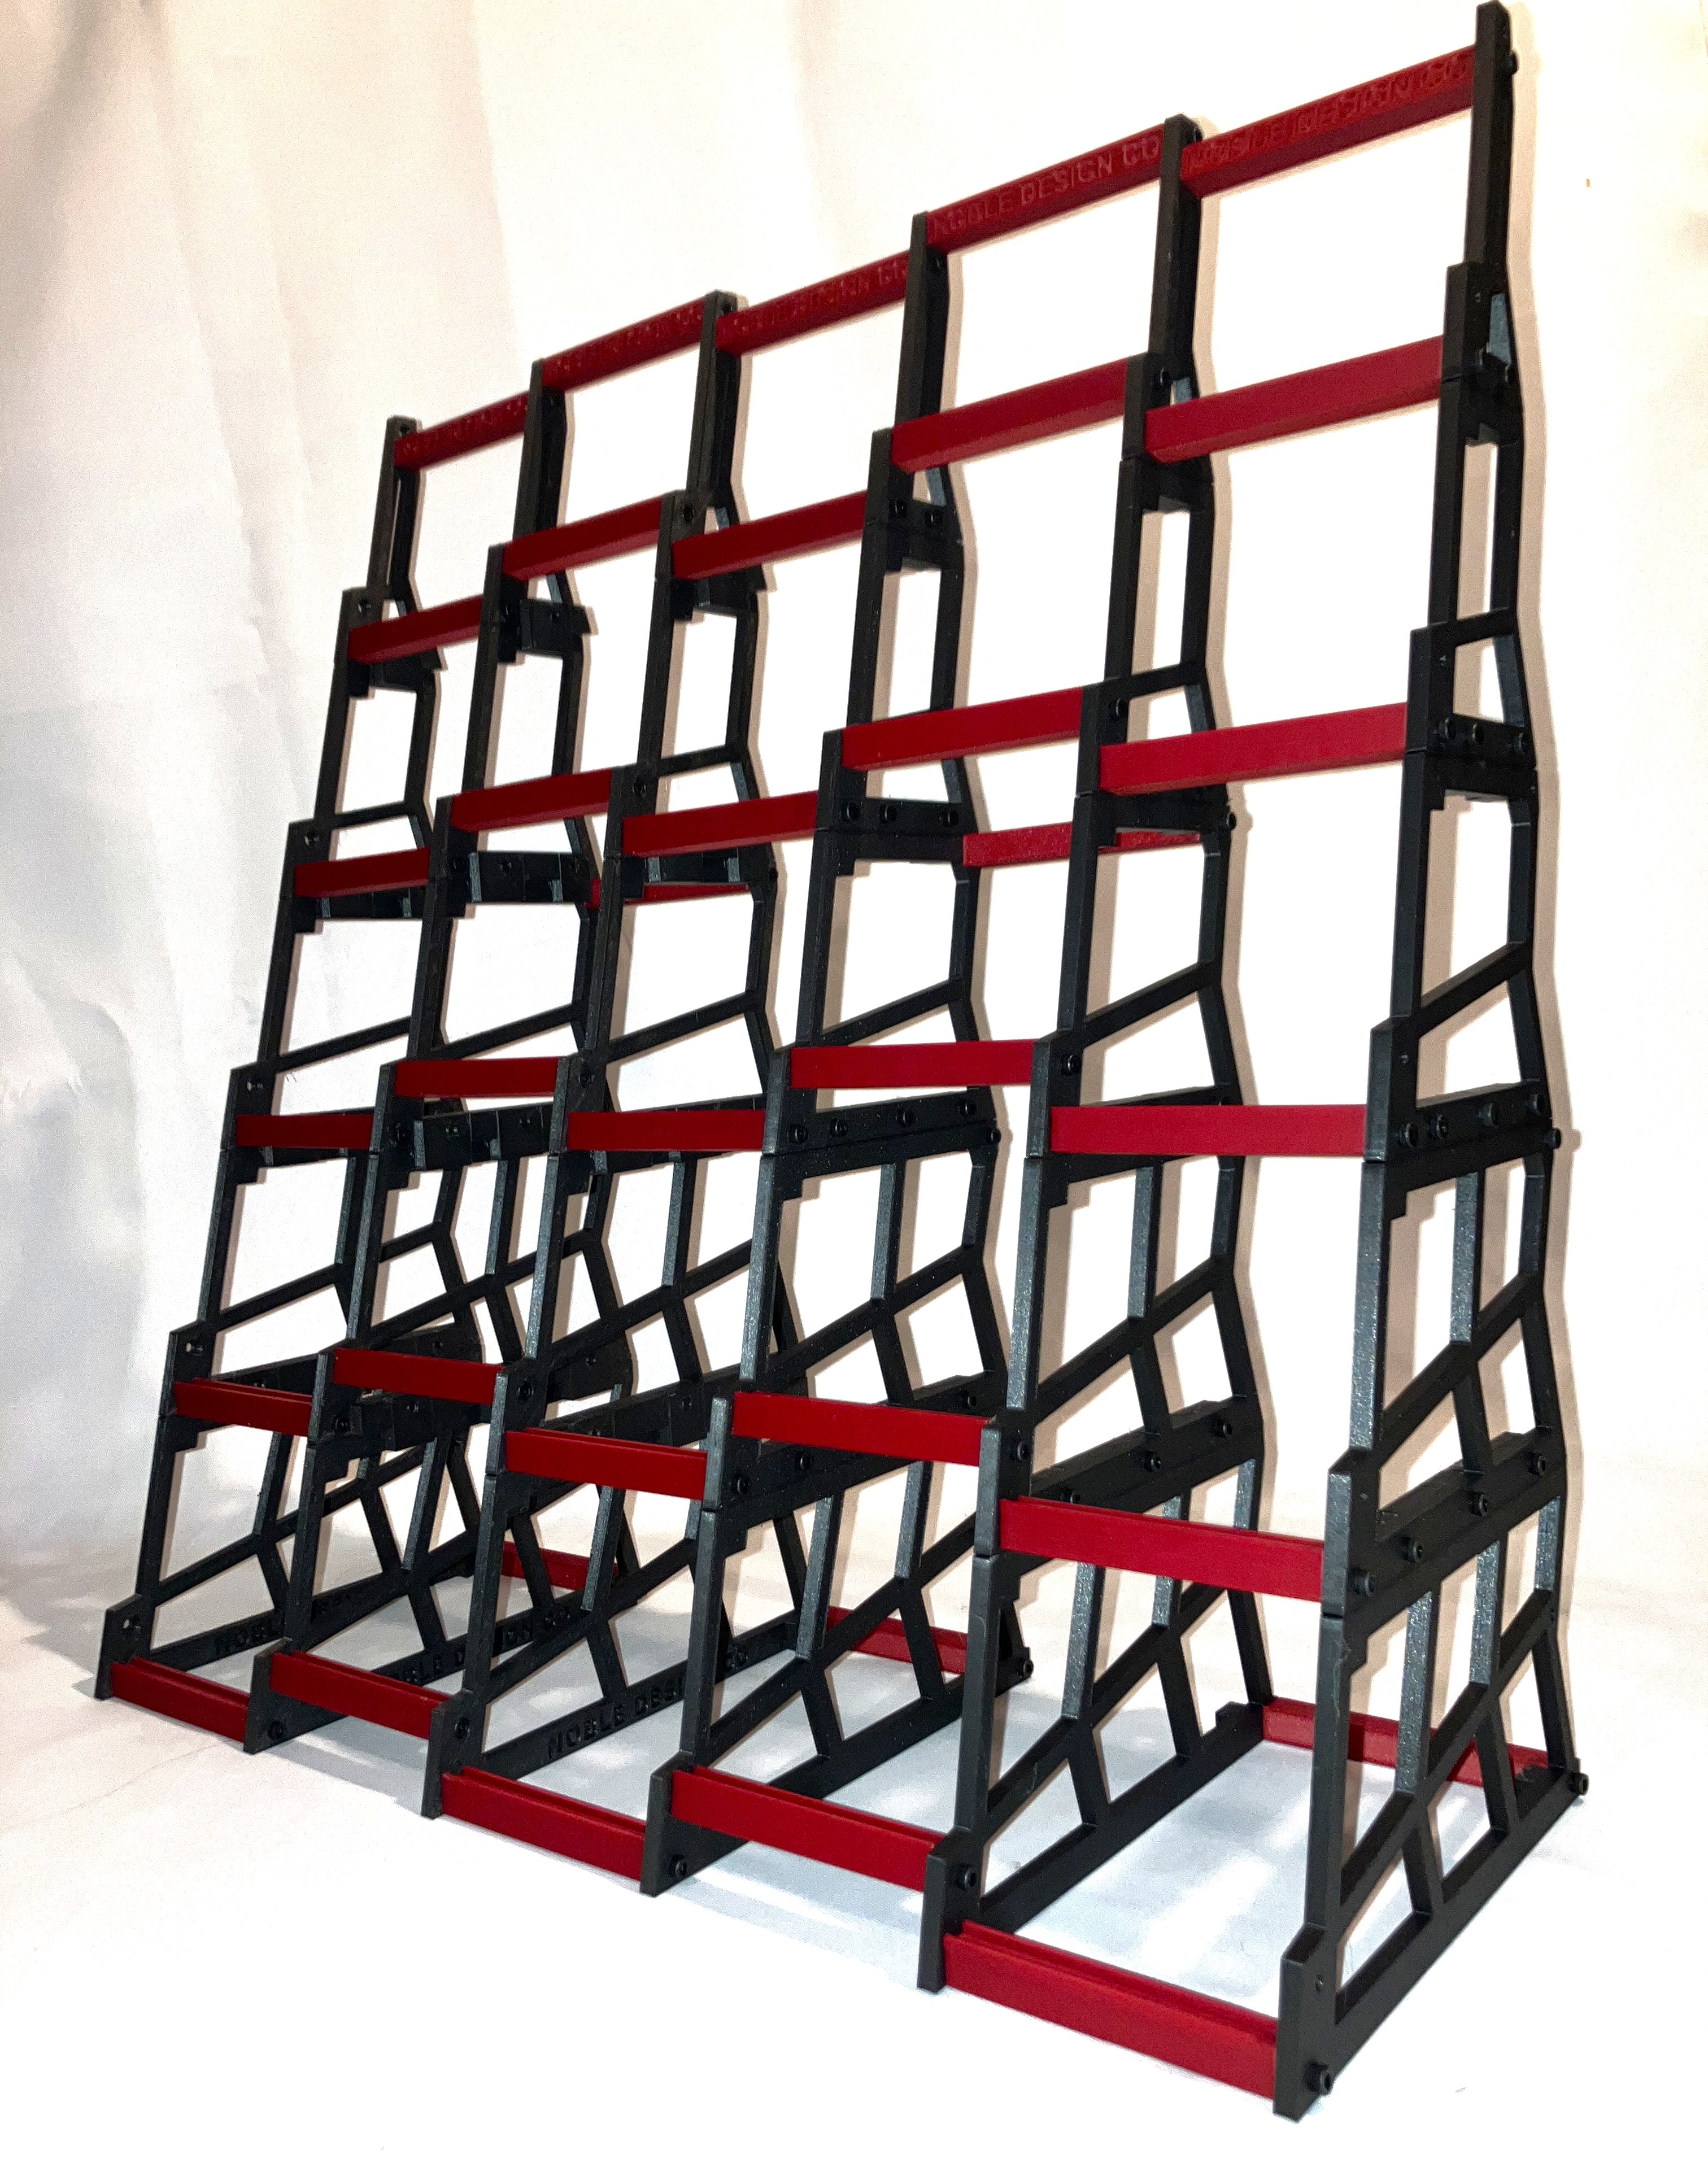
Instruction for how to assemble the Cobra 5-tier trading card rack. An M3 allen key is necessary to properly assemble the rack.
Depending on which size rack you purchased, you will have some or all of the tier pieces pictured below.
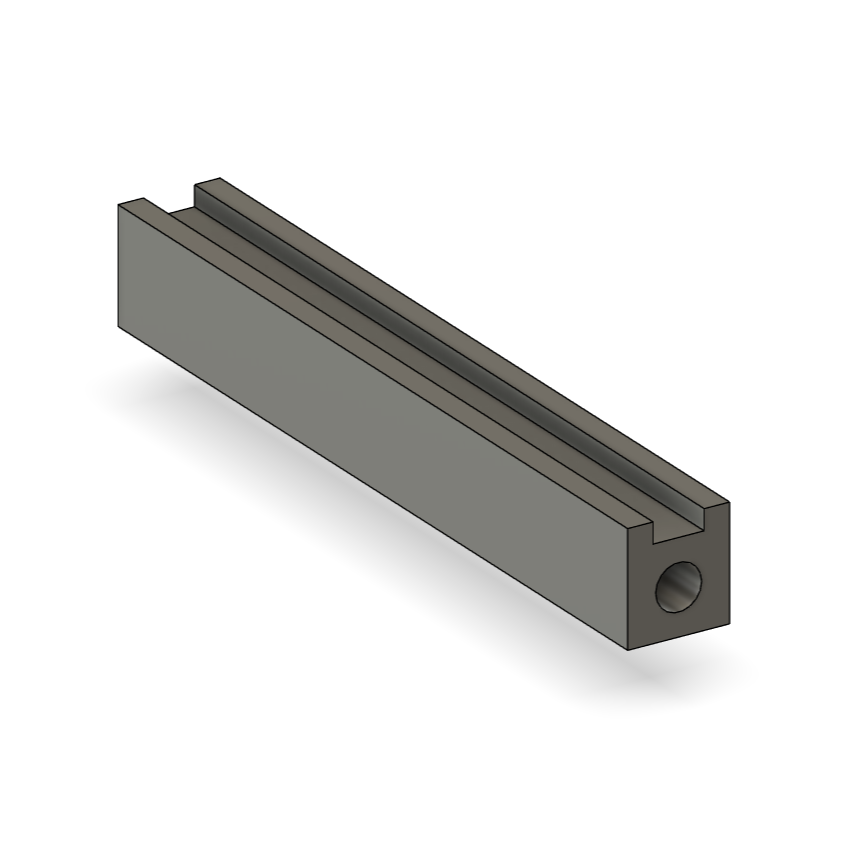
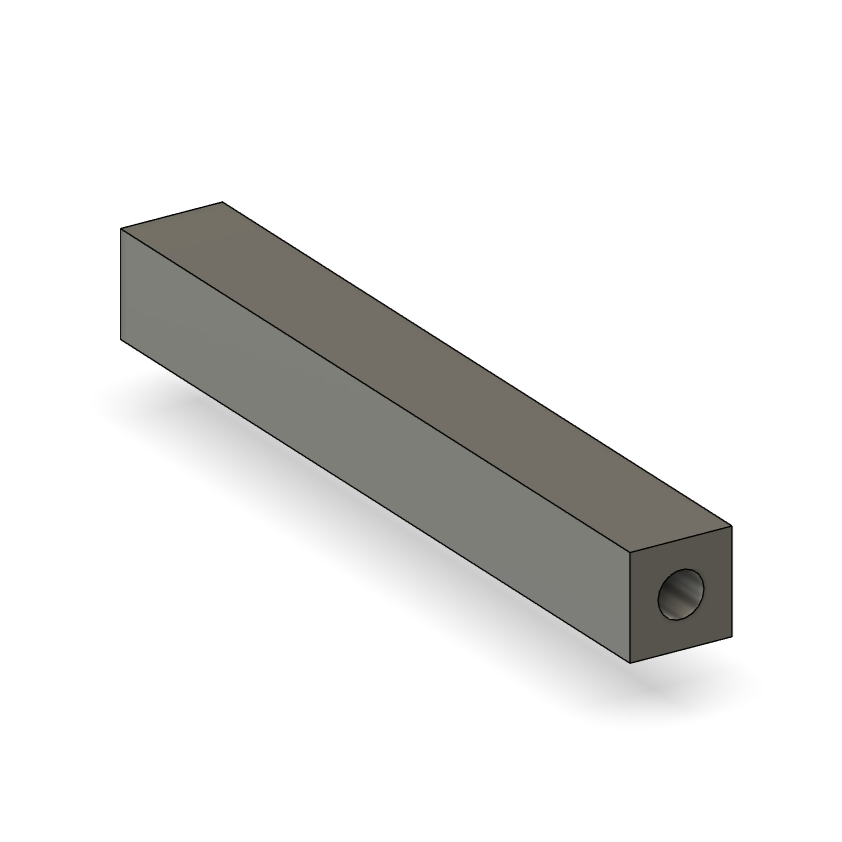
Trays and Bars
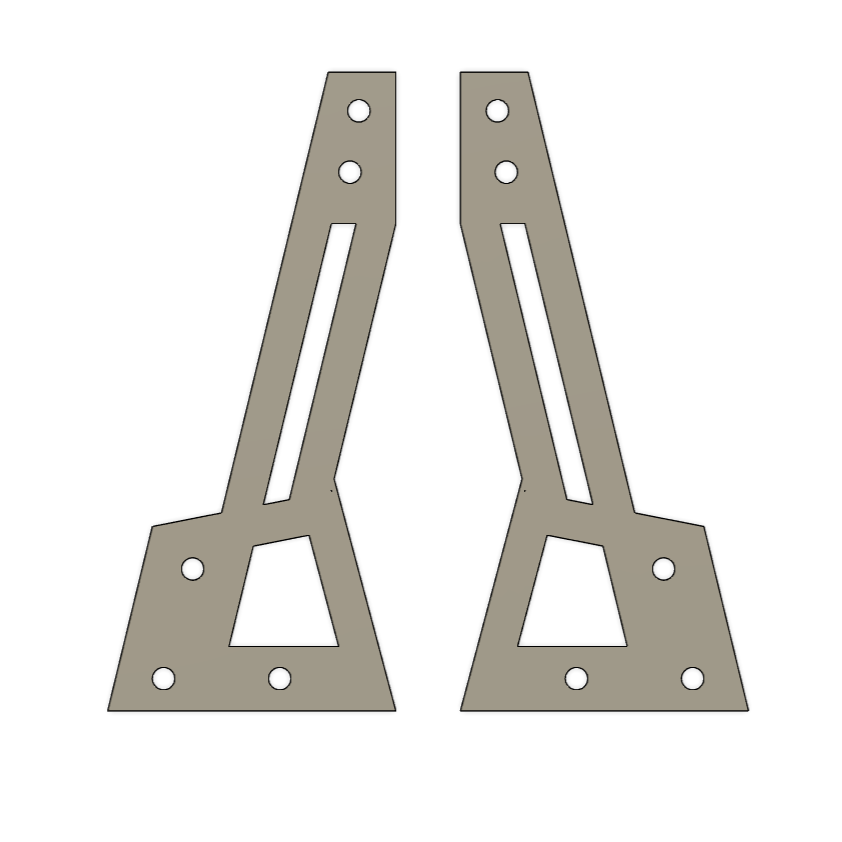
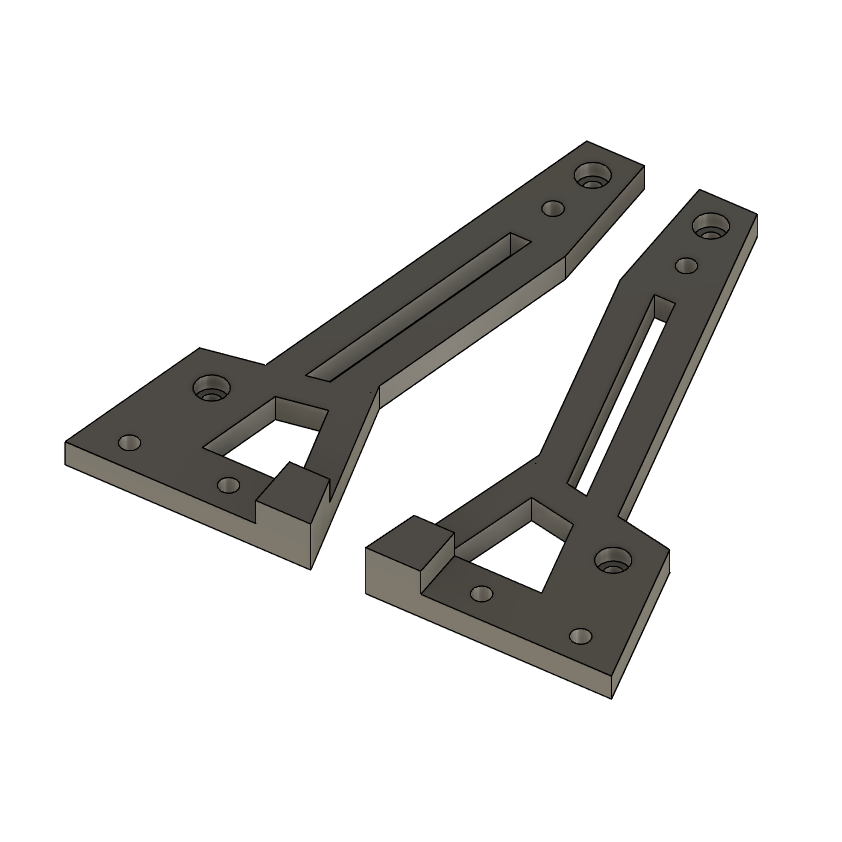
Tier 1
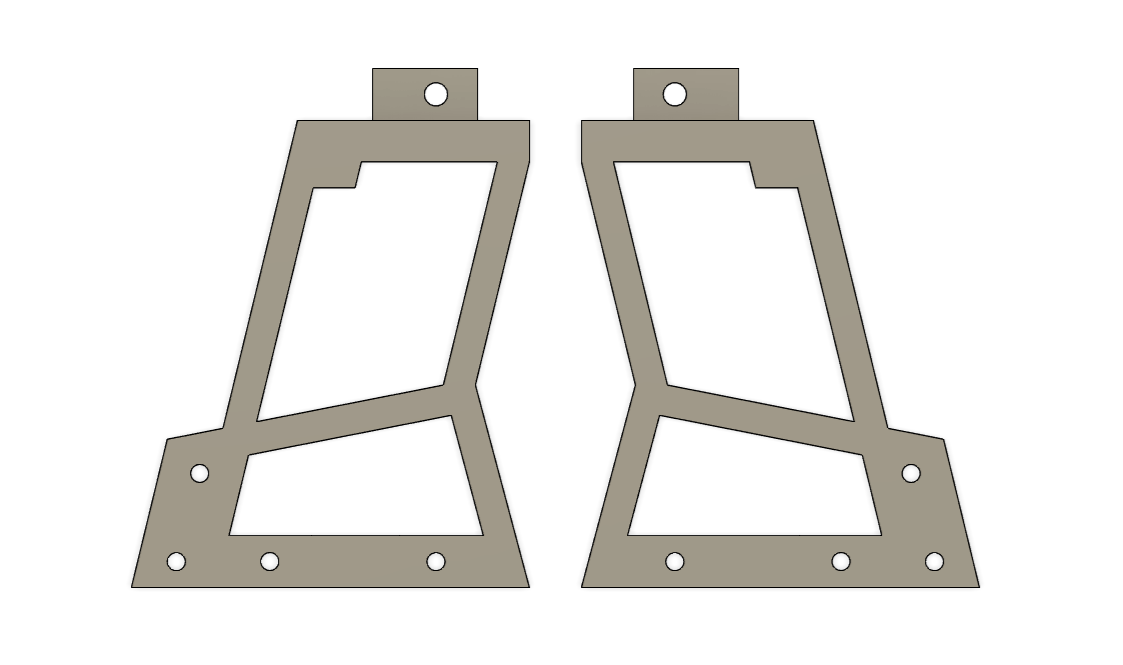
Tier 2
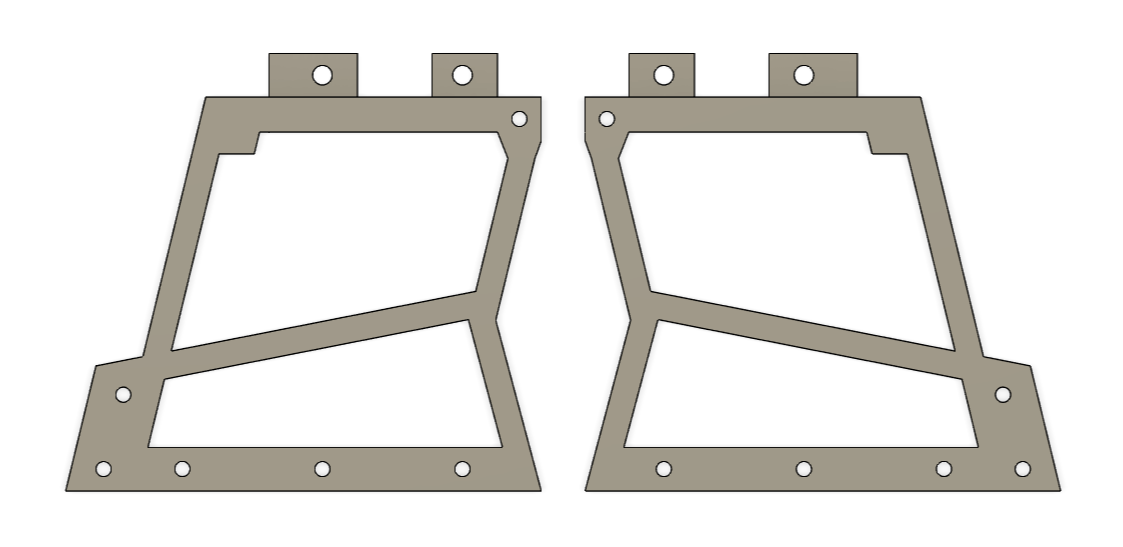
Tier 3
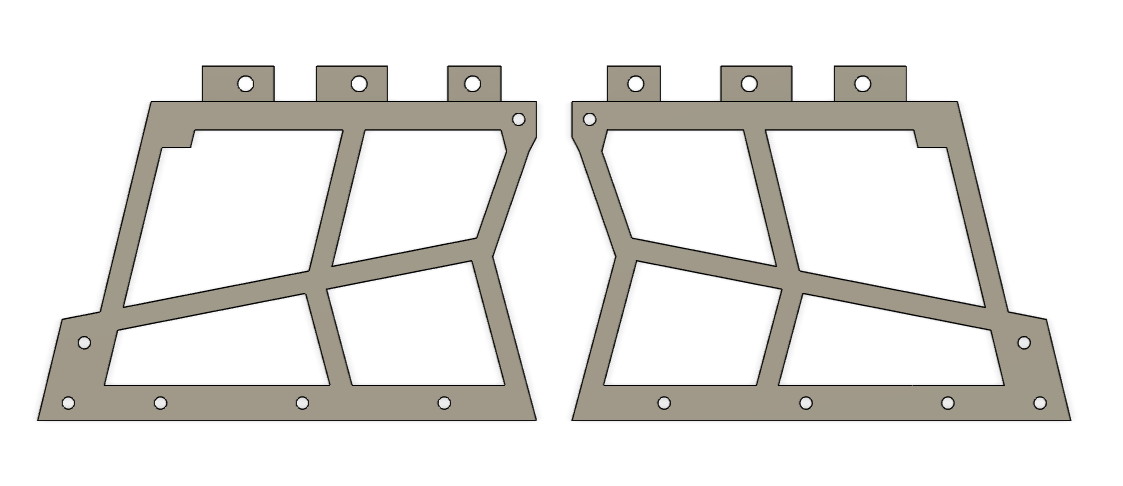
Tier 4
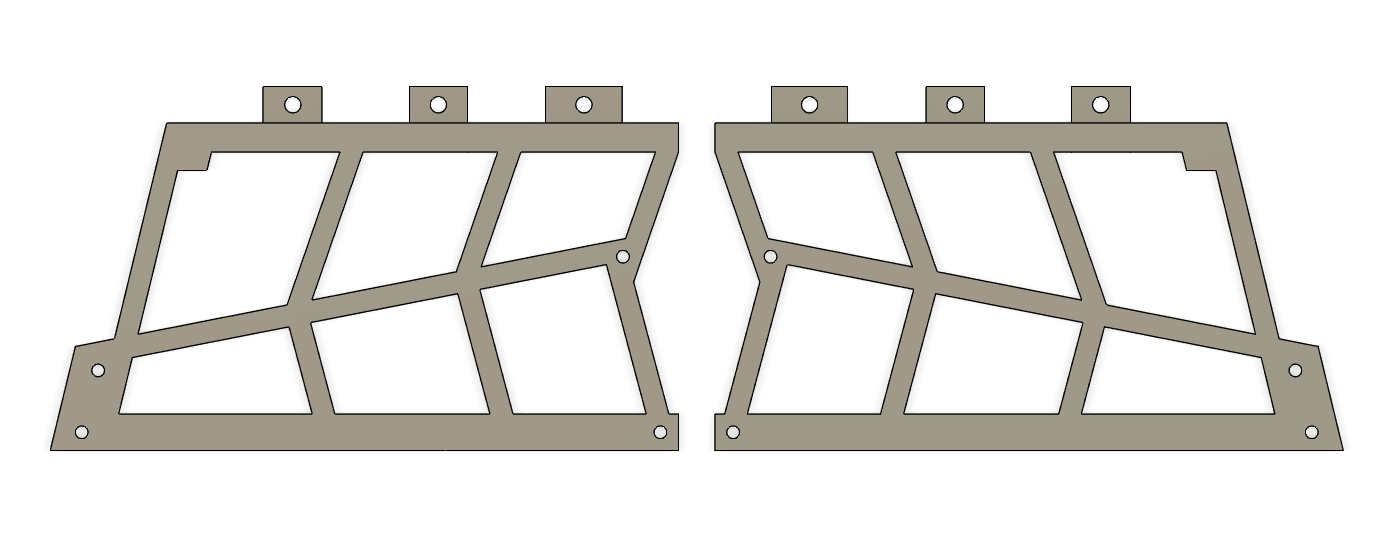
Tier 5
Each tier pieces slots nicely together with the piece that goes directly above and below it.
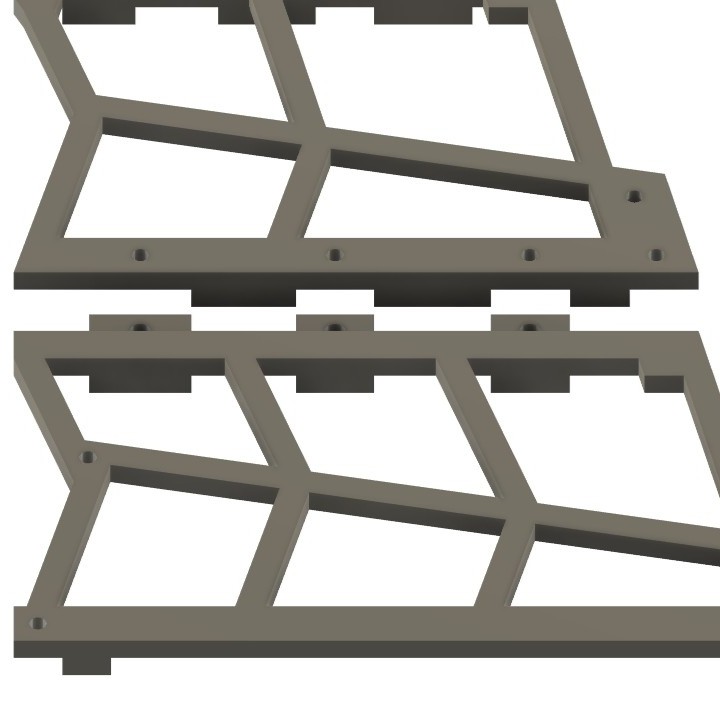
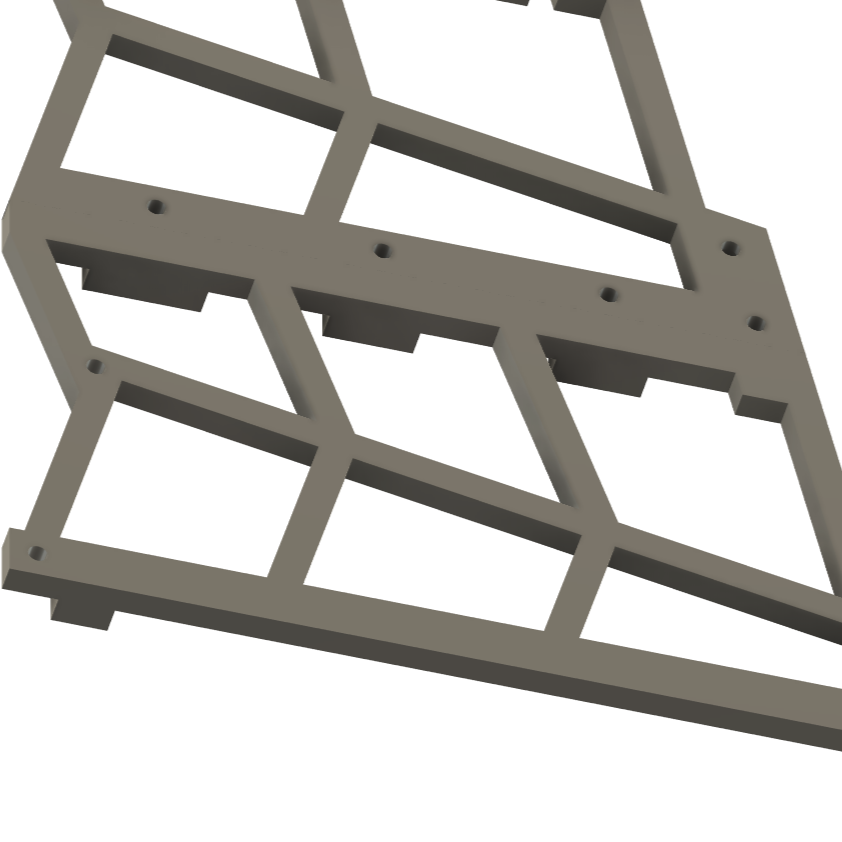
Use the provided M3 socket head screws the fasten each piece together. Be careful not to force the screws into the threads of the heat inserts. Most of the screws can be threaded by hand. A few exceptions may require the allen key as sometimes plastic gets caught in the threads.
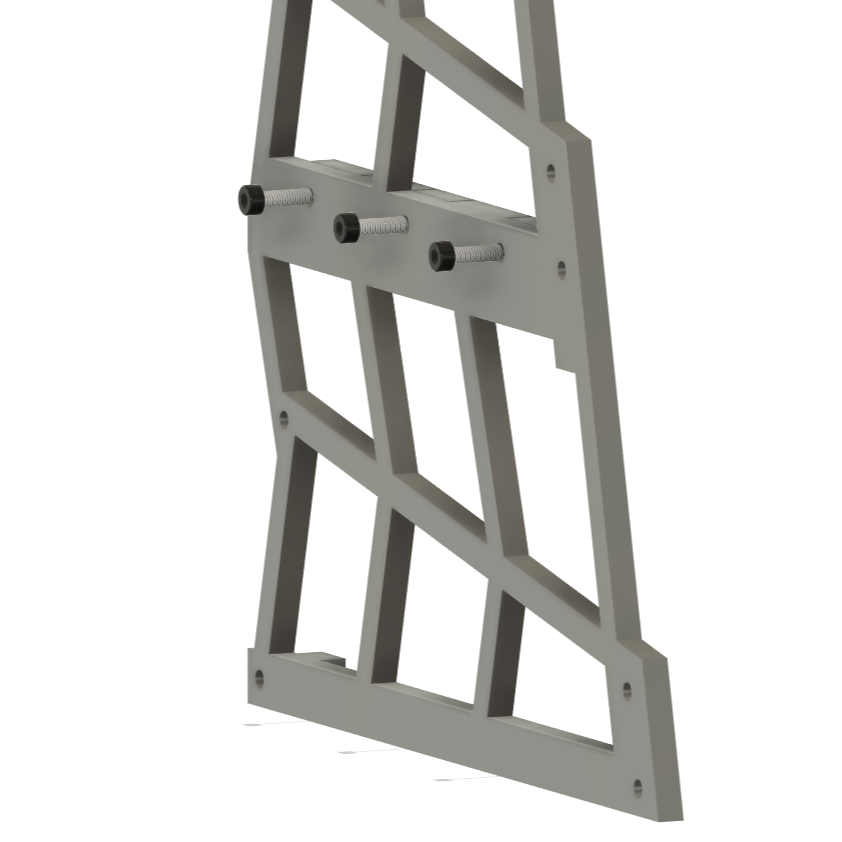
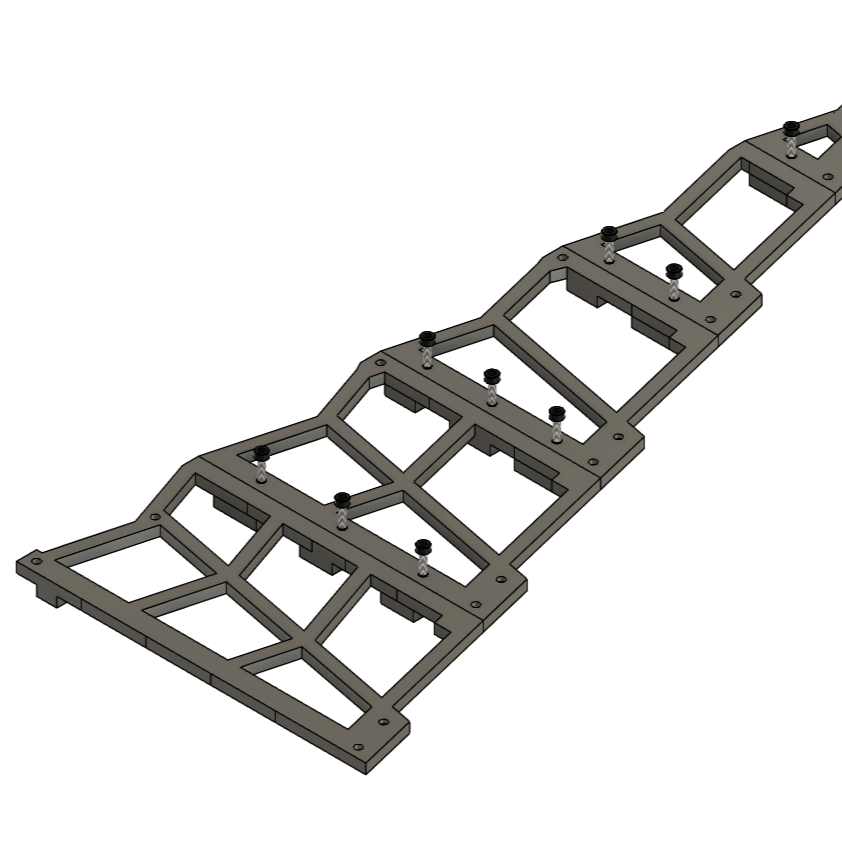
Then tighten all the screws to snug tight.
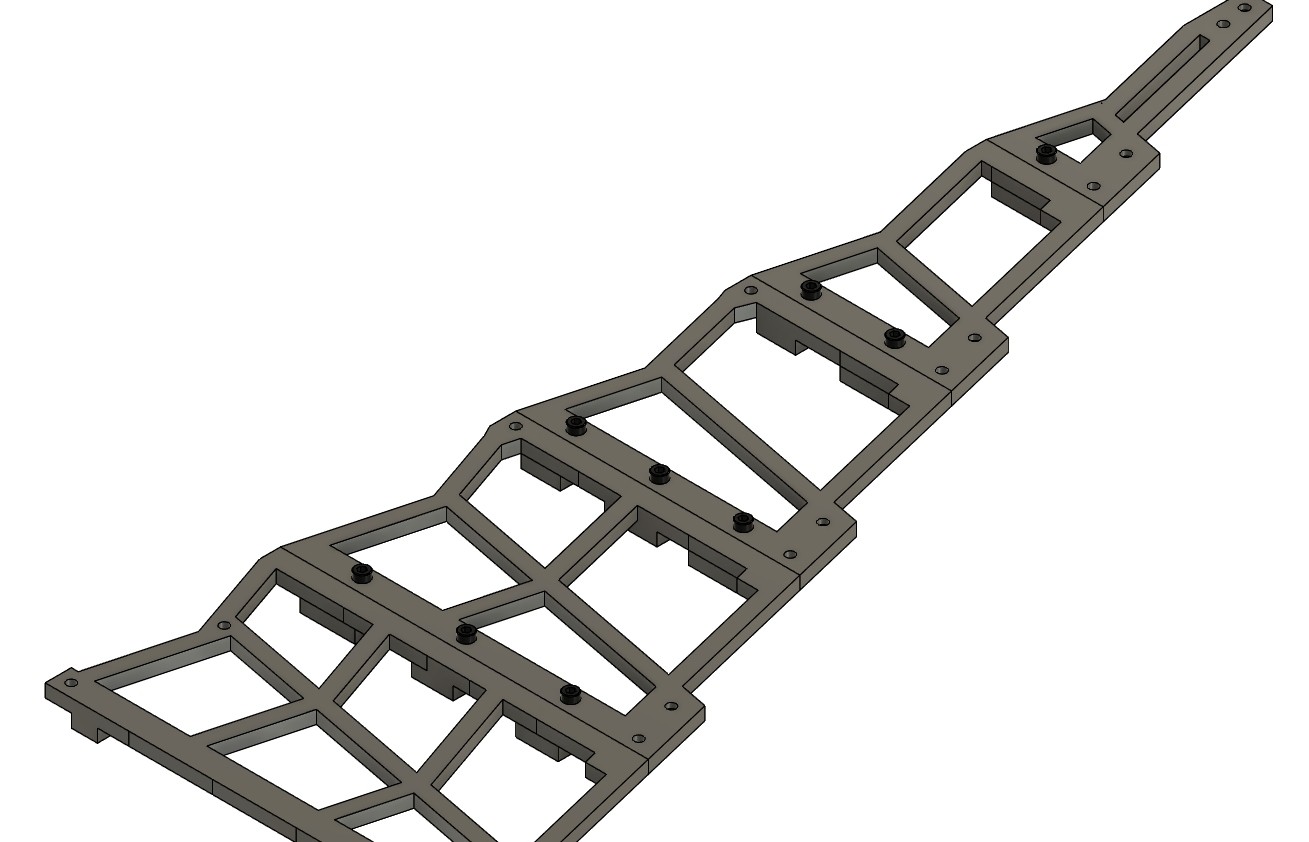
Each card will rest in a card tray. Start by loosely connecting a bar to the hole secong from the top. Then attach a tray the all of the bottom holes on the front of each tier piece. Do not attach a tray or bar to the counter sunk holes on the inside of the tier piece, as these will be needed to attach the bars going the other direction. It may be helpful to not fully tighten these until the other side piece has been attached.
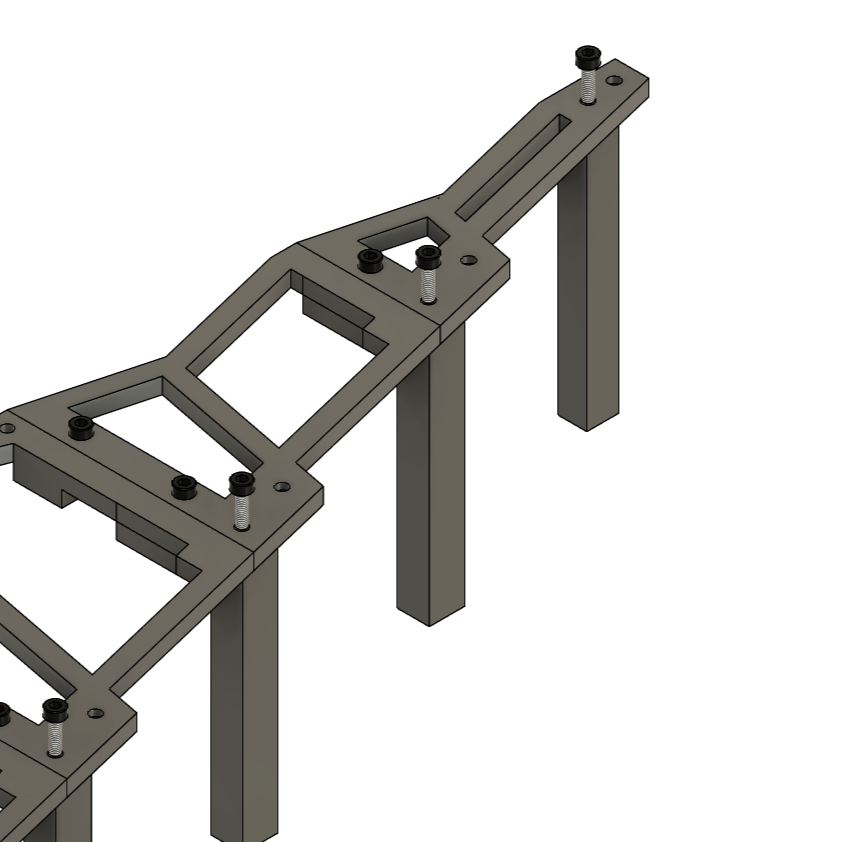
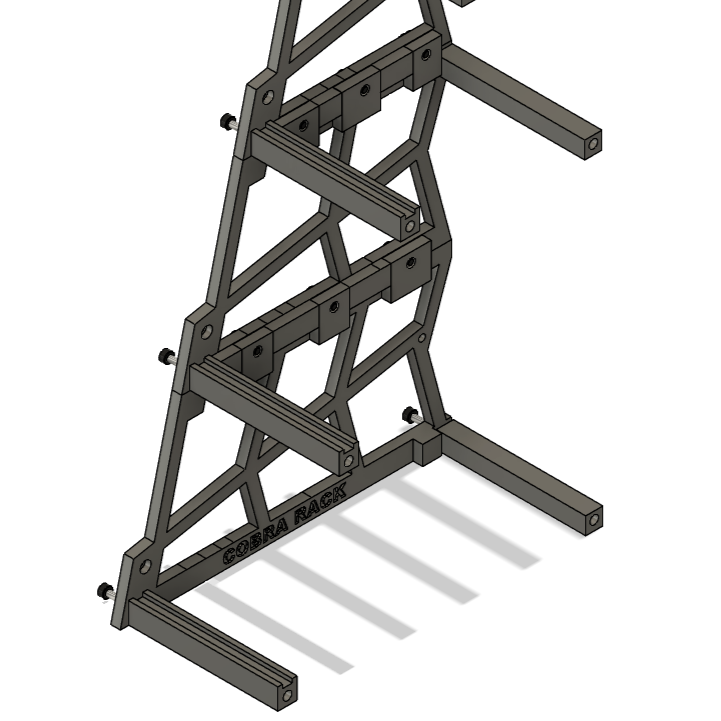
Two bars can be attached across the back for stability, one in the bottom hole and one in the middle.
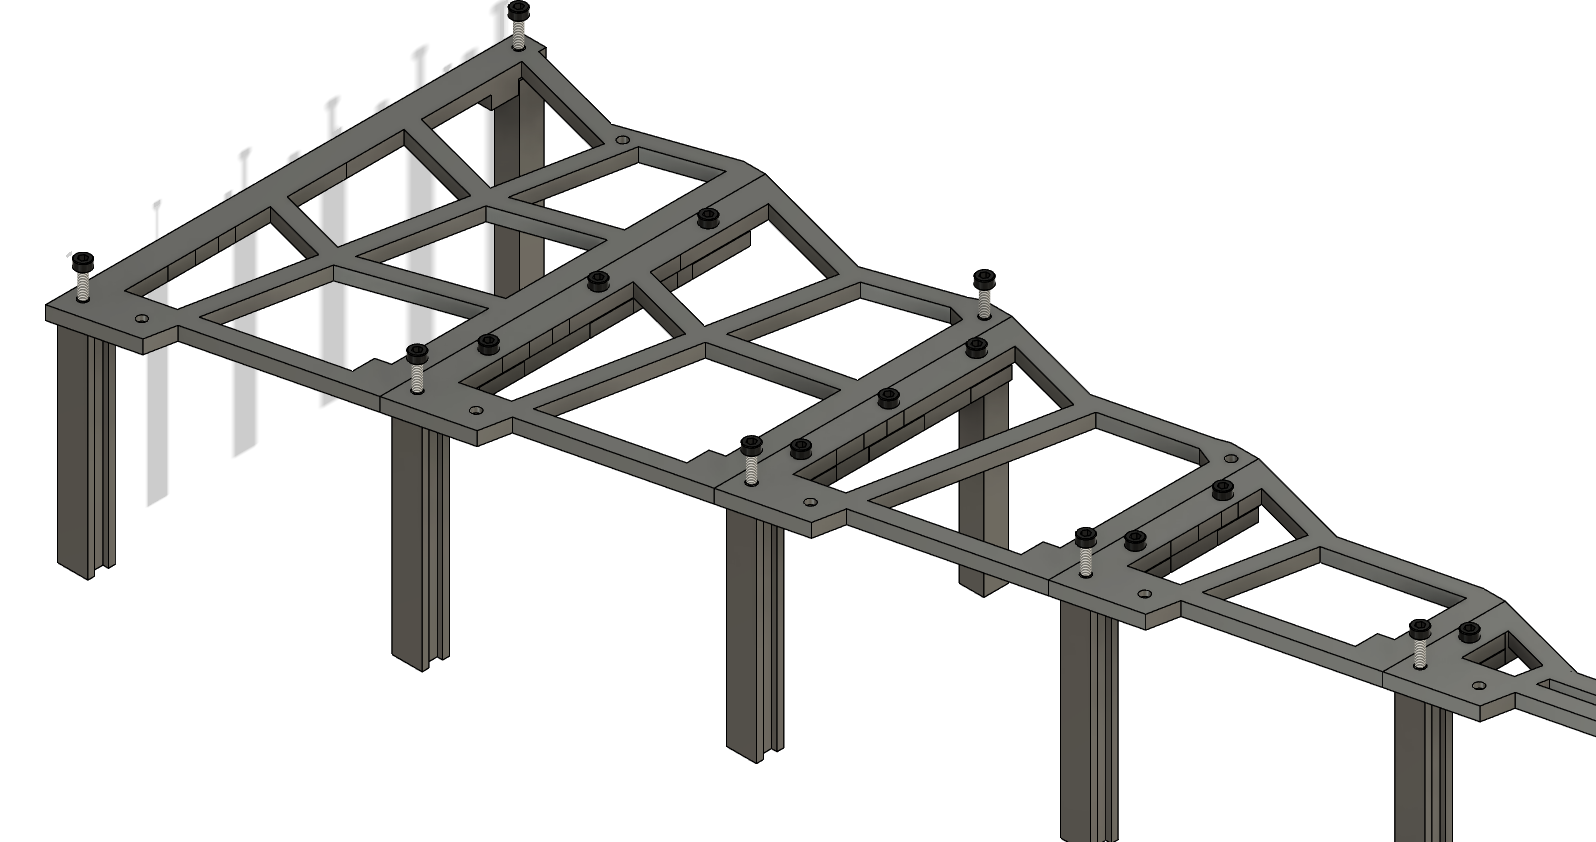
Attach the other fully assembled side piece in the same fashion and tighten all screws to snug tight.
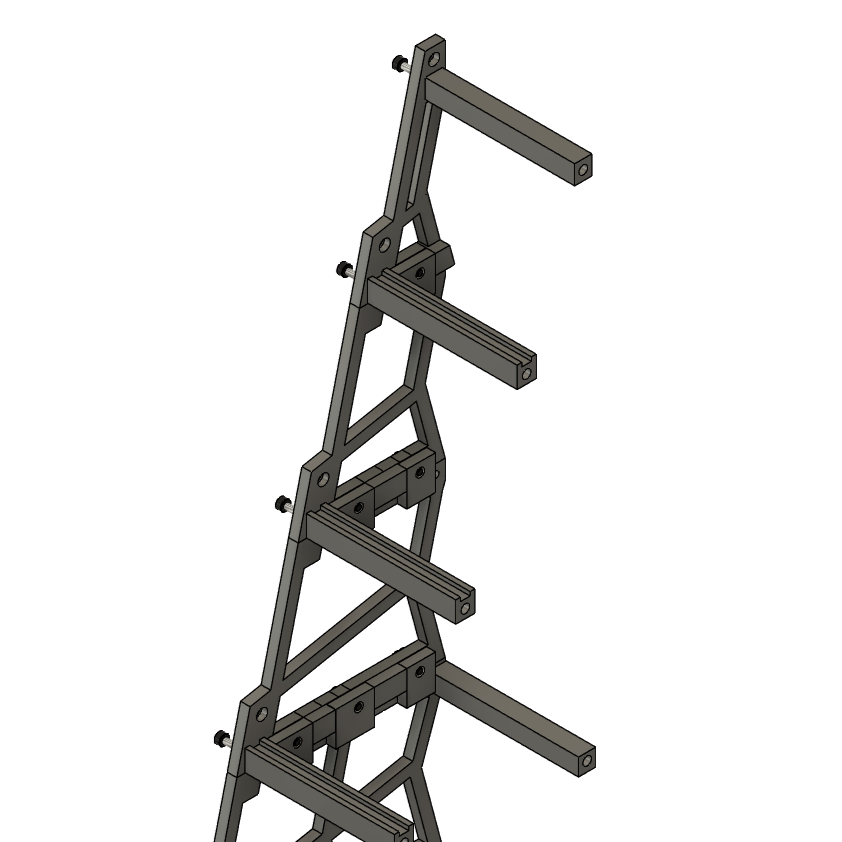
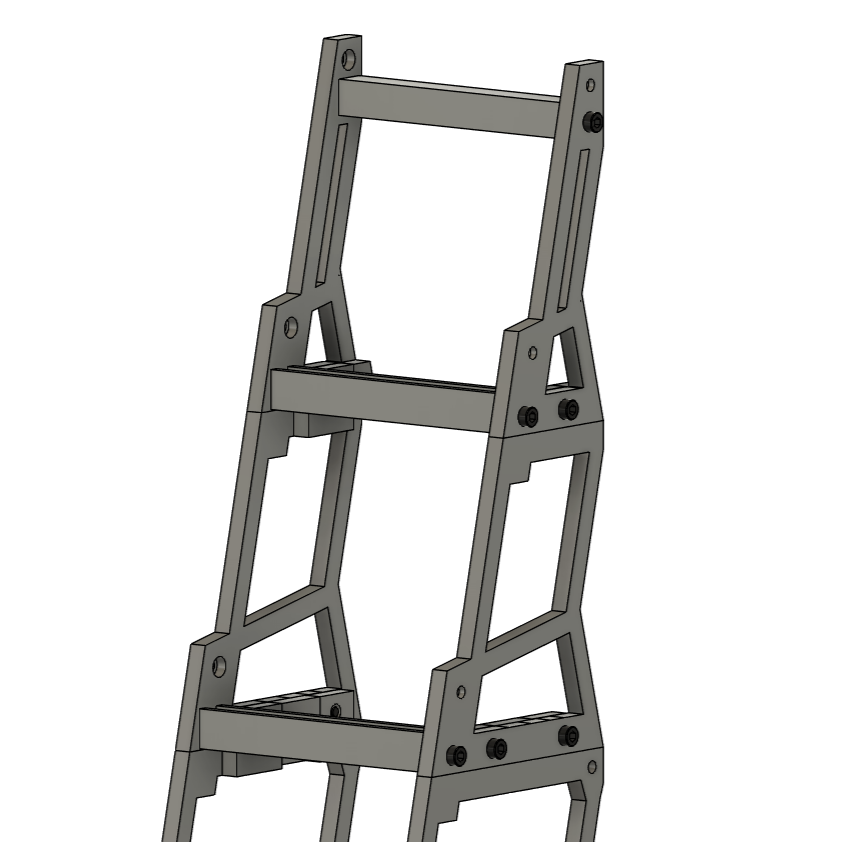
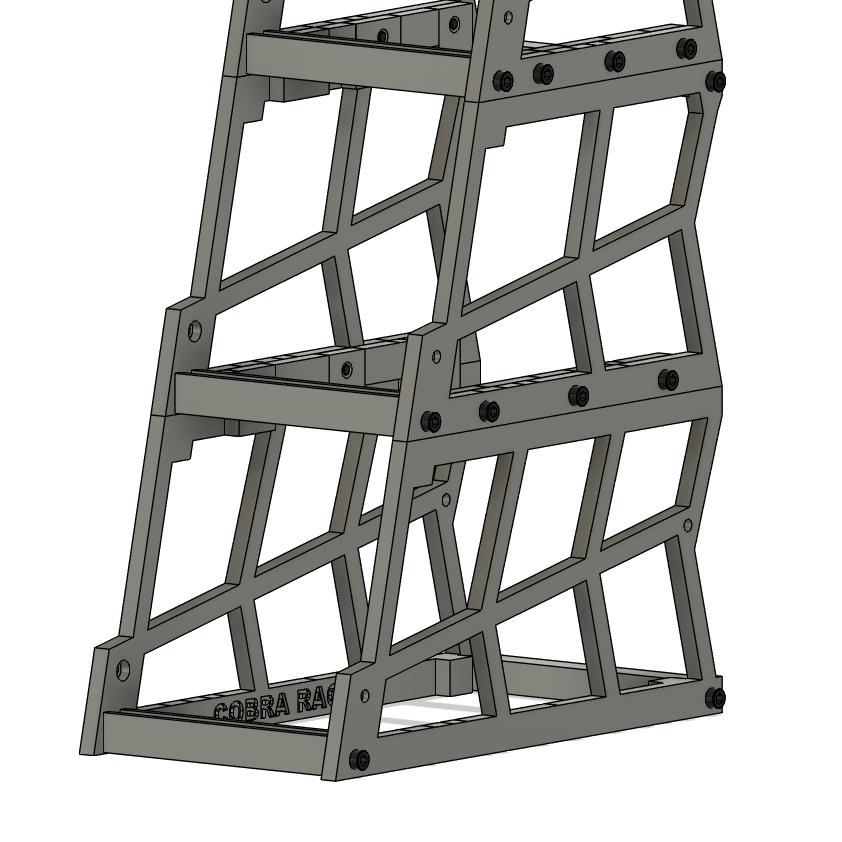
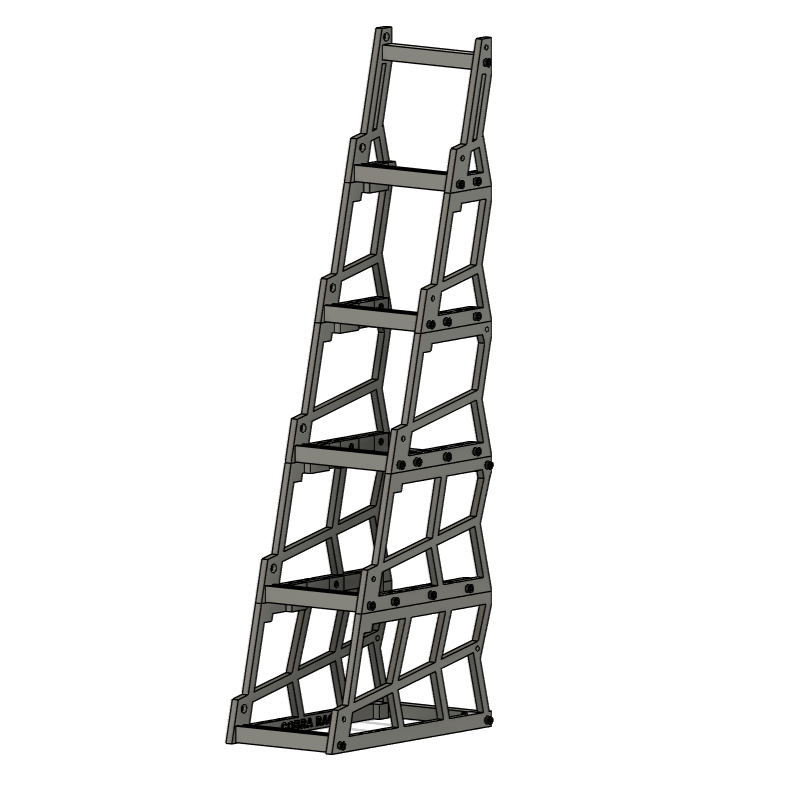
If you purchased the 15 or 25 card rack, you will need to use the countersunk holes on the inside of the side piece. Continue attaching trays the the remaining holes then attach the next side piece.
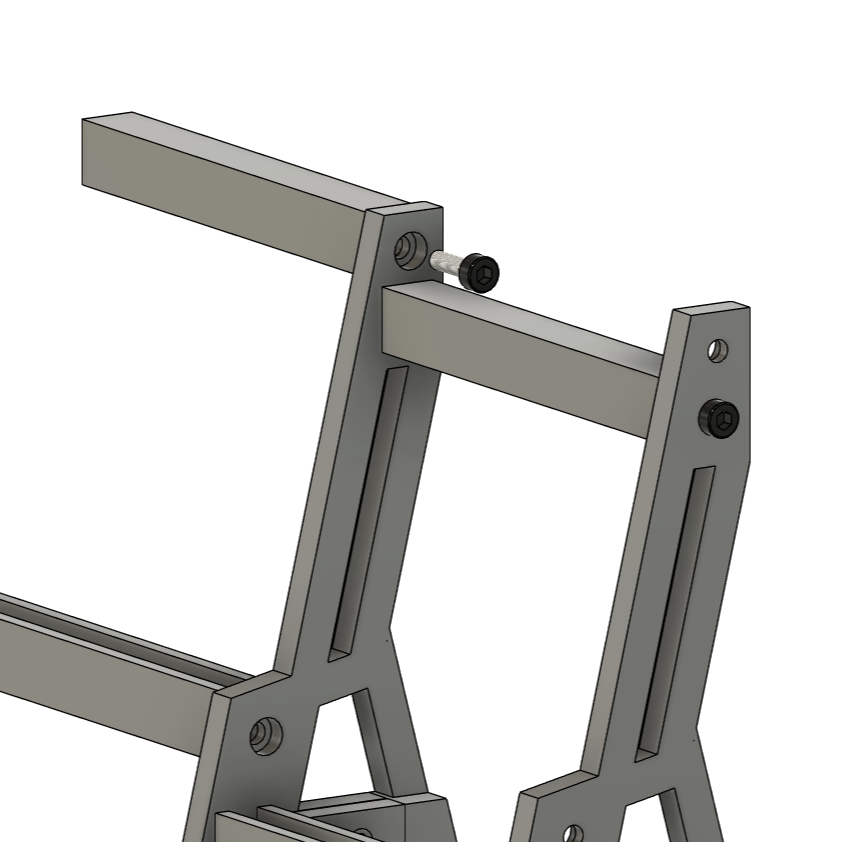
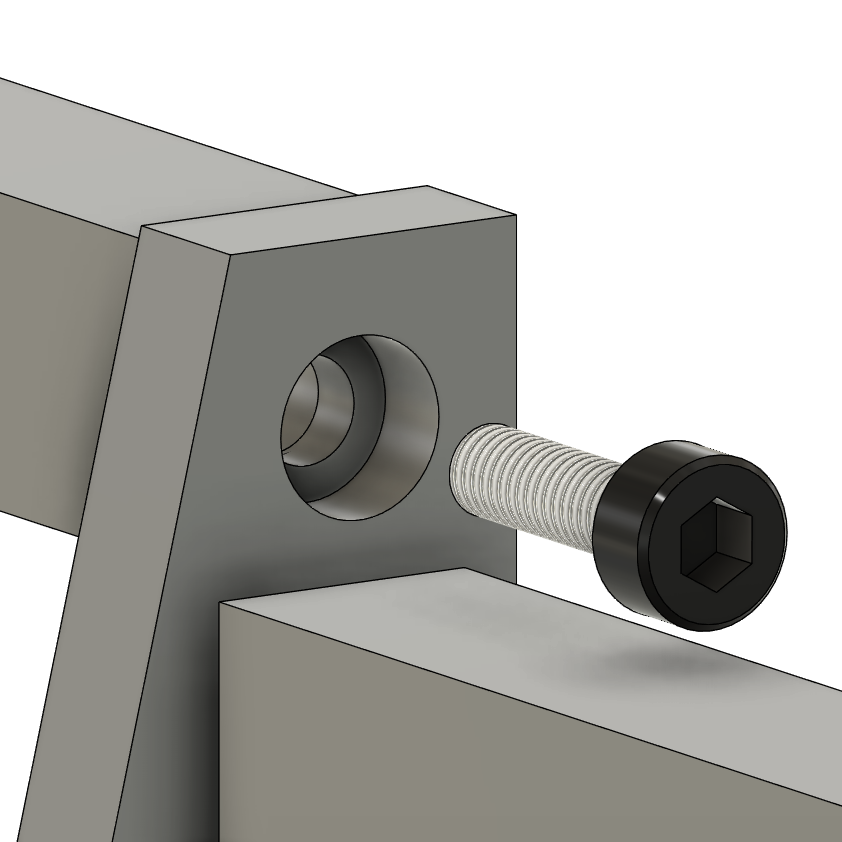
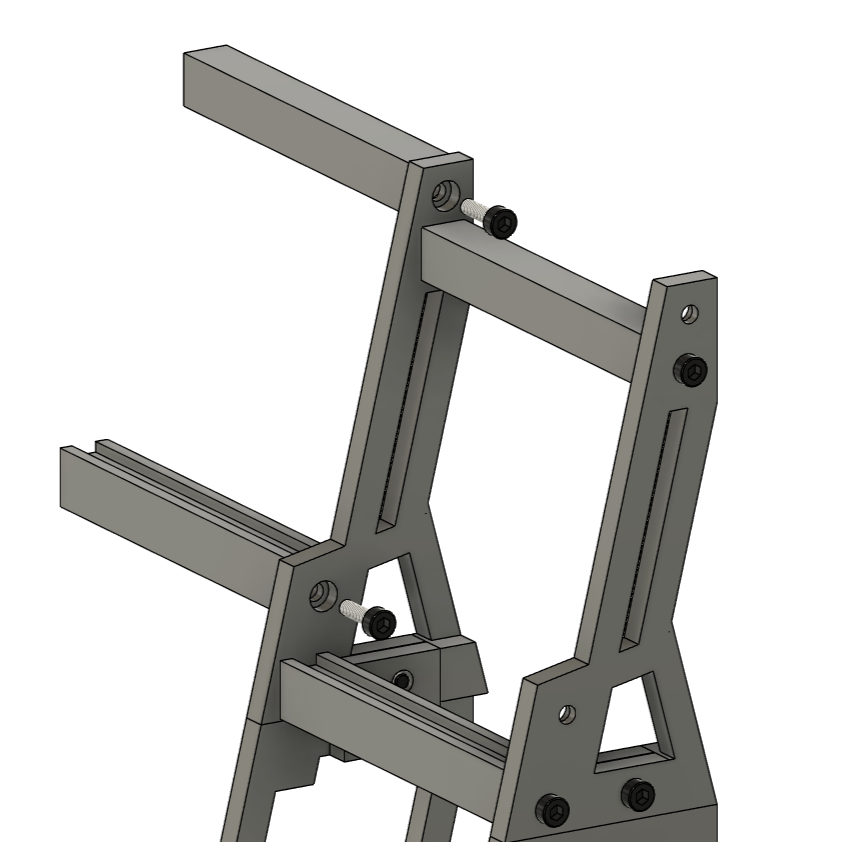
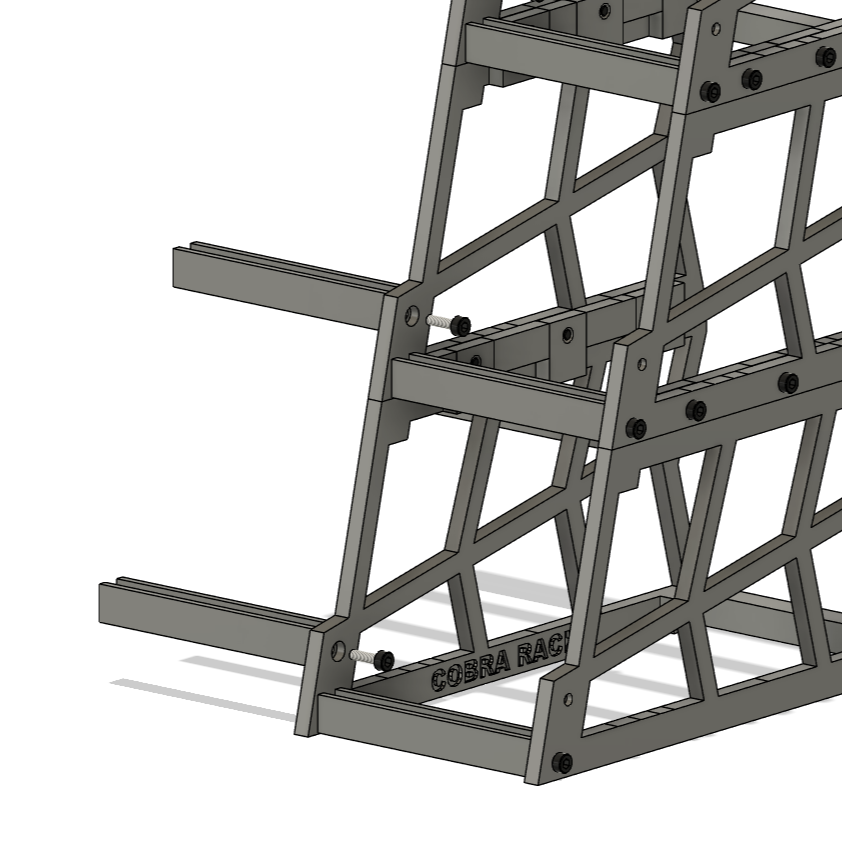
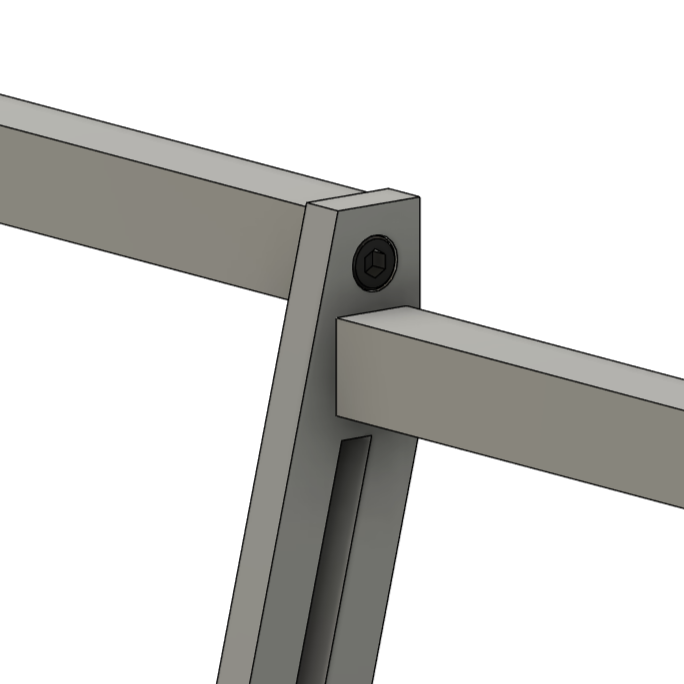
When fully tightened, the screw should be flush with the surrounding.
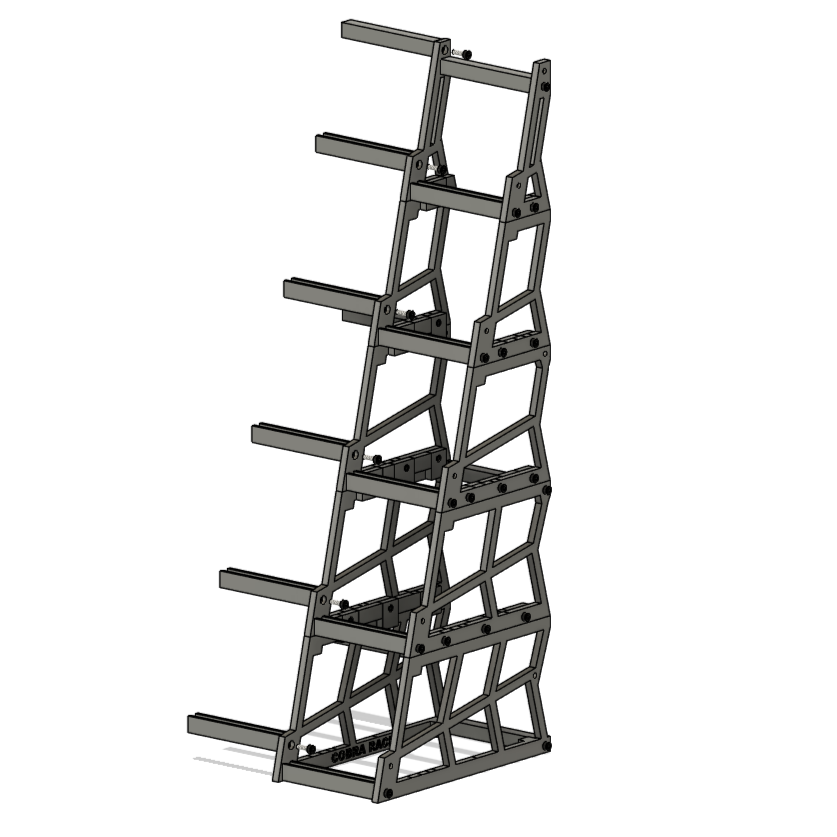
Attach the next side piece and fully tighten all screws to snug tight.
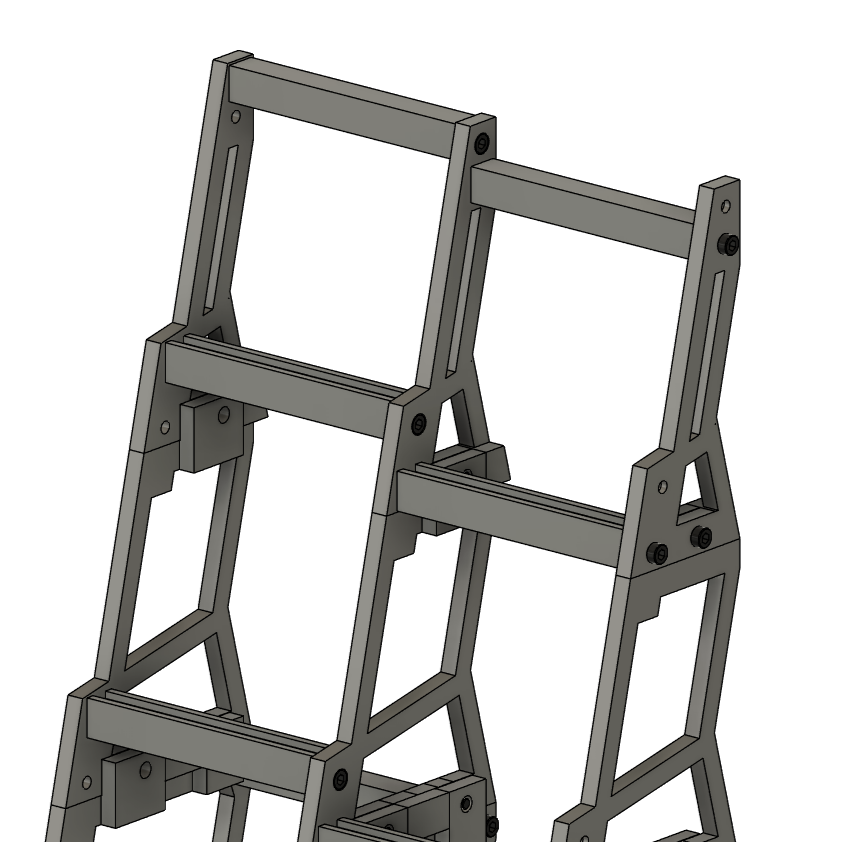
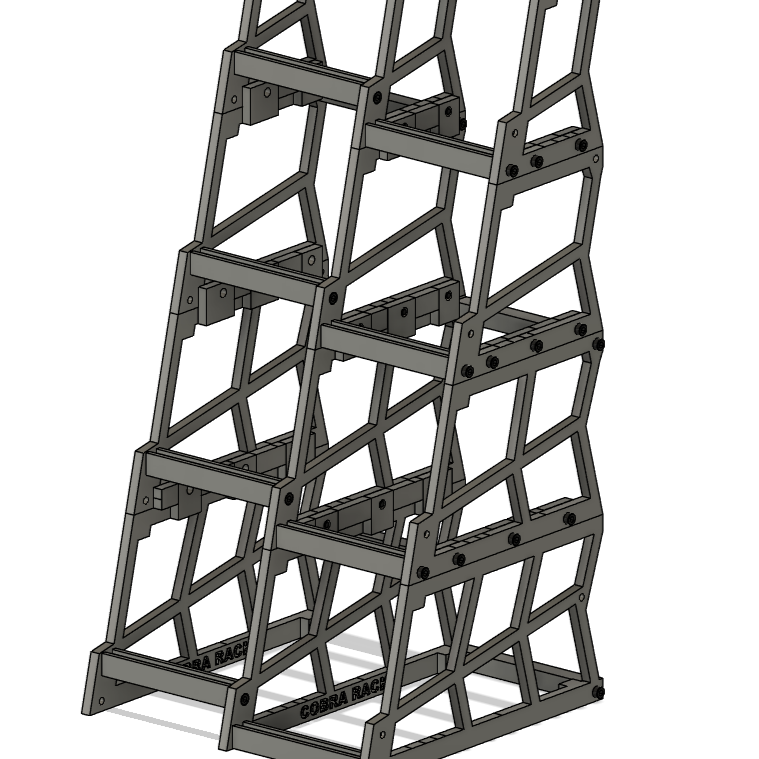
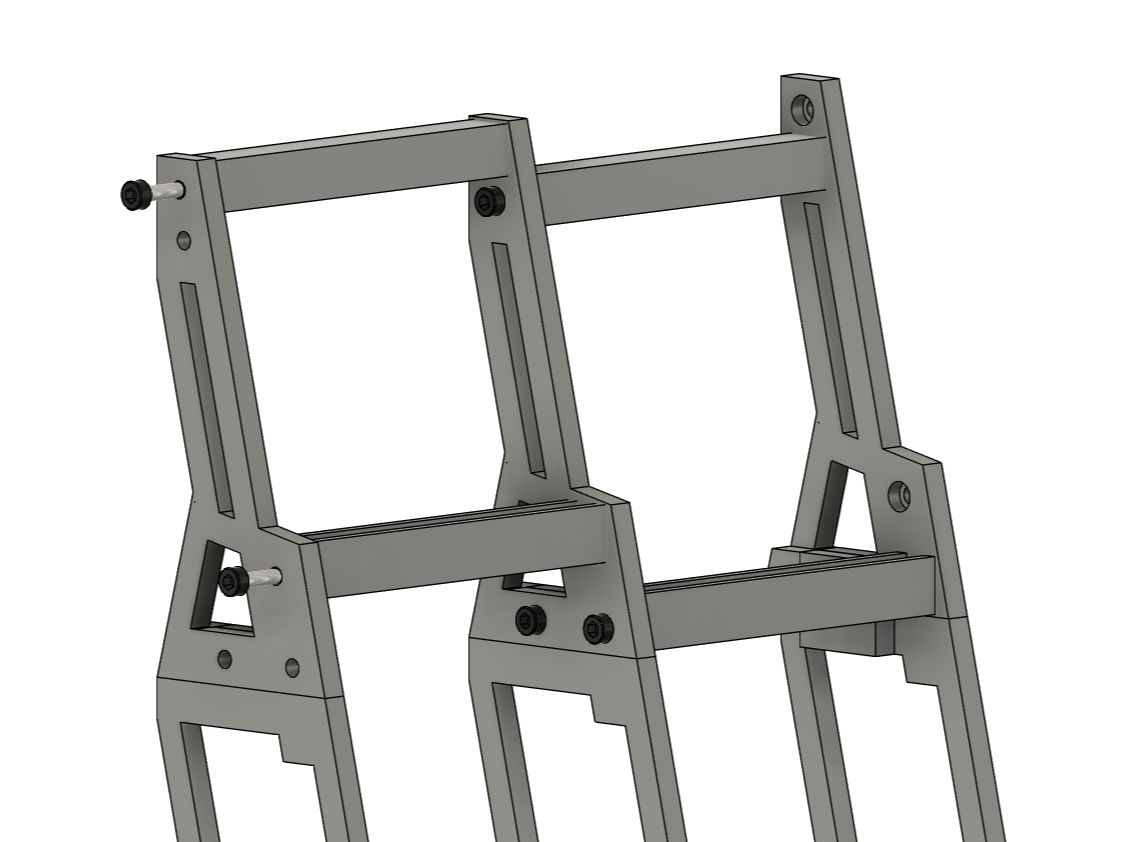
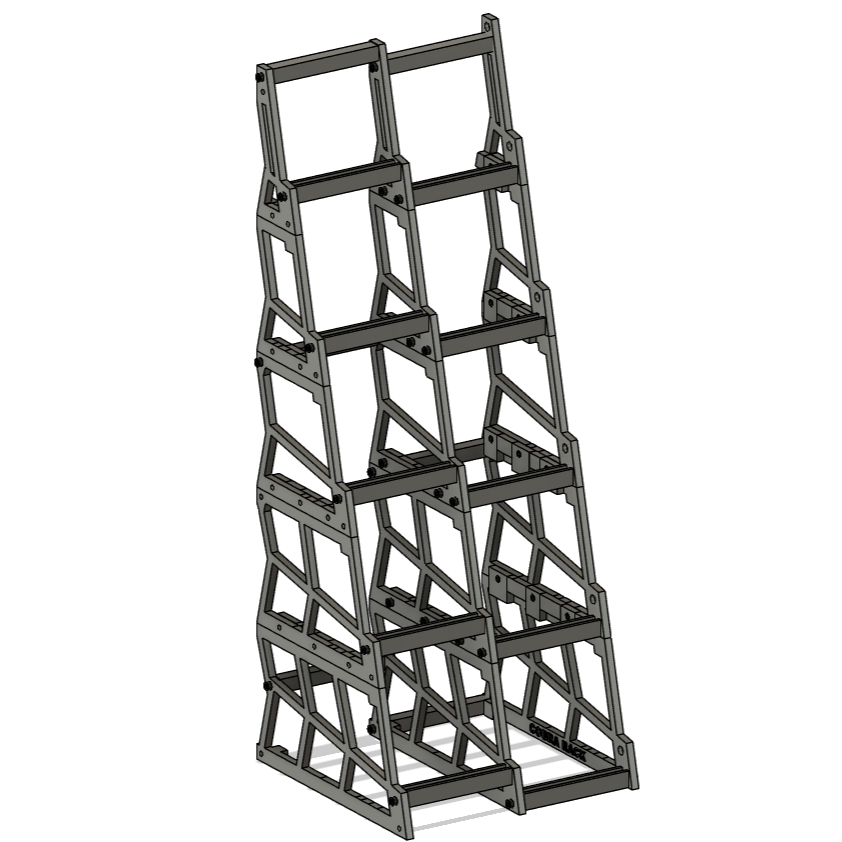
Finish assembling the card rack using this method. That's it! A great place to show your cards on display.